A sender signature is a digital authentication method used to verify the credibility of the email sender. It ensures that the email is not a spoof and offers the recipient an additional layer of security.
Thus, it helps to create trust, enhance security, and maintain a professional brand image for WordPress transactional emails.
And know that InboxWP offers this cool feature to let you use a custom email sending signature for email marketing purposes, as it ensures 100% email deliverability of your transactional email.
Here, we’ll show where you can find the sender signature option and how to customize it for your email.
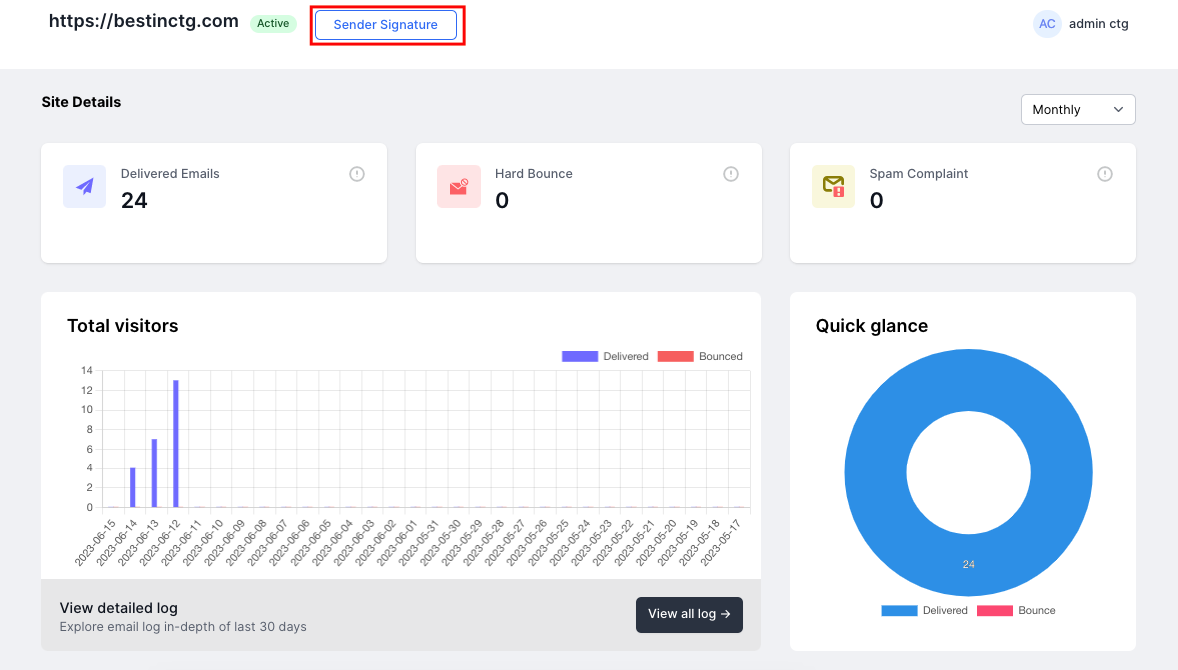
Where to find the “Sender Signature” option
On the InboxWP frontend dashboard, it will appear next to your site’s information.
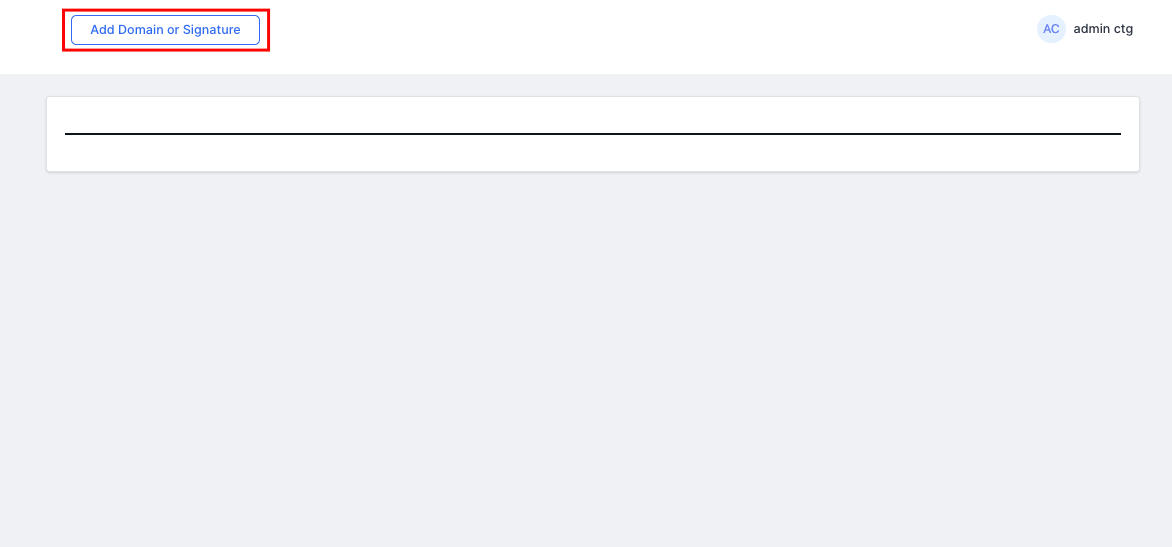
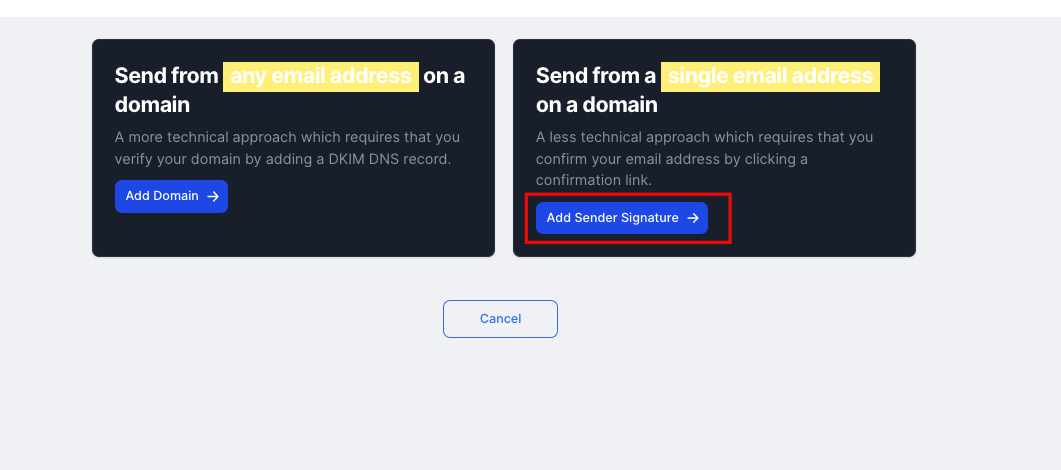
After you click on “Sender Signature,” you’ll see this section. Here, you need to add your domain or signature.
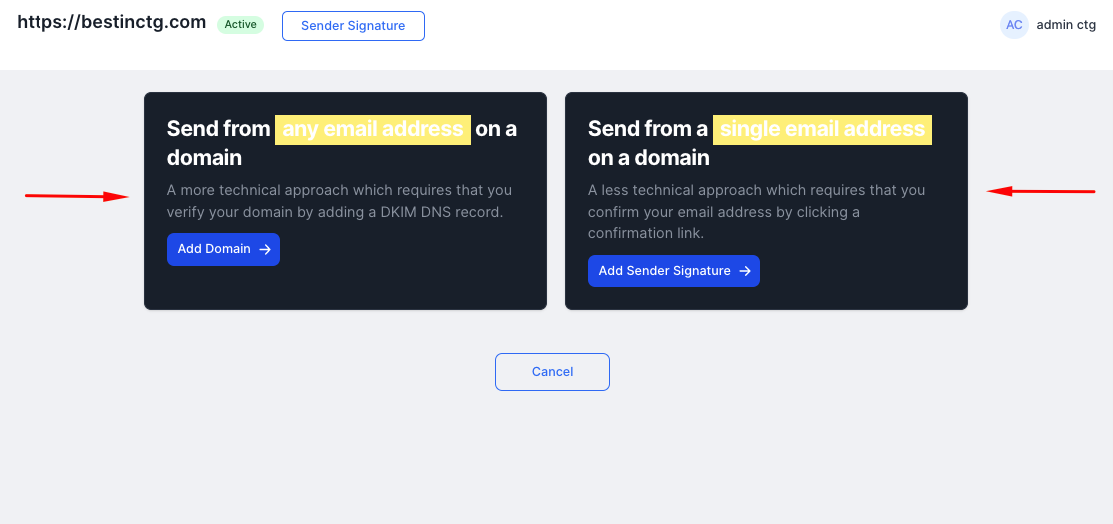
Here you’ll find two options.
Add domain: If you verify your domain, you can create and send as many emails as you want. For example, your domain name is “yourdomain.com.” After adding it, you’ll be asked to verify it. Once you verify it, you can create different email signatures related to this domain.
Such as [email protected], [email protected], etc.
Add a signature: If you add a specific signature, only it will send the emails from your site. You should add the “from email” – [email protected]. That means you can only send emails from this email address, not from others.
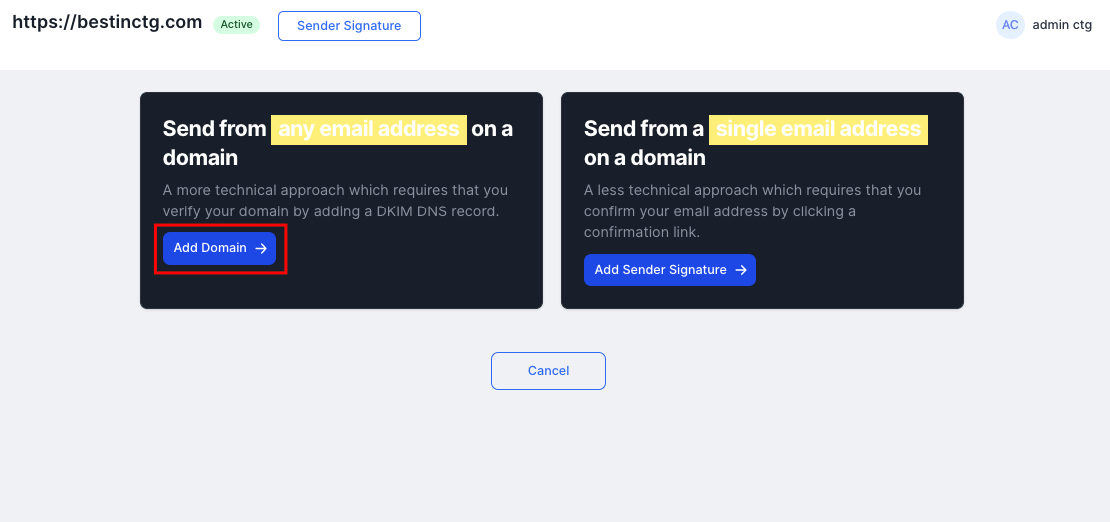
Adding a domain for your WordPress transactional email
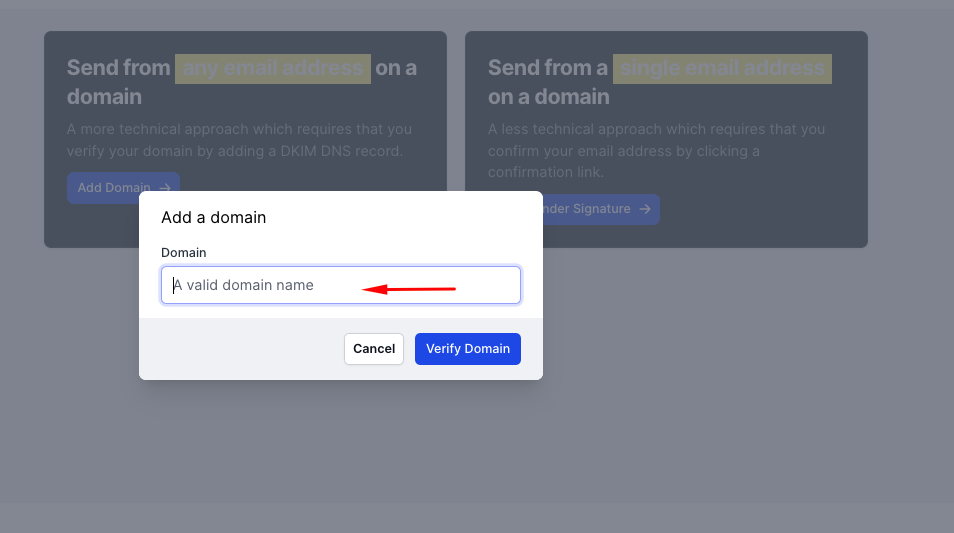
Click on the “add domain” button.
Add your domain name. Don’t forget to add a domain name like: mydomain.com. Avoid using https or http.
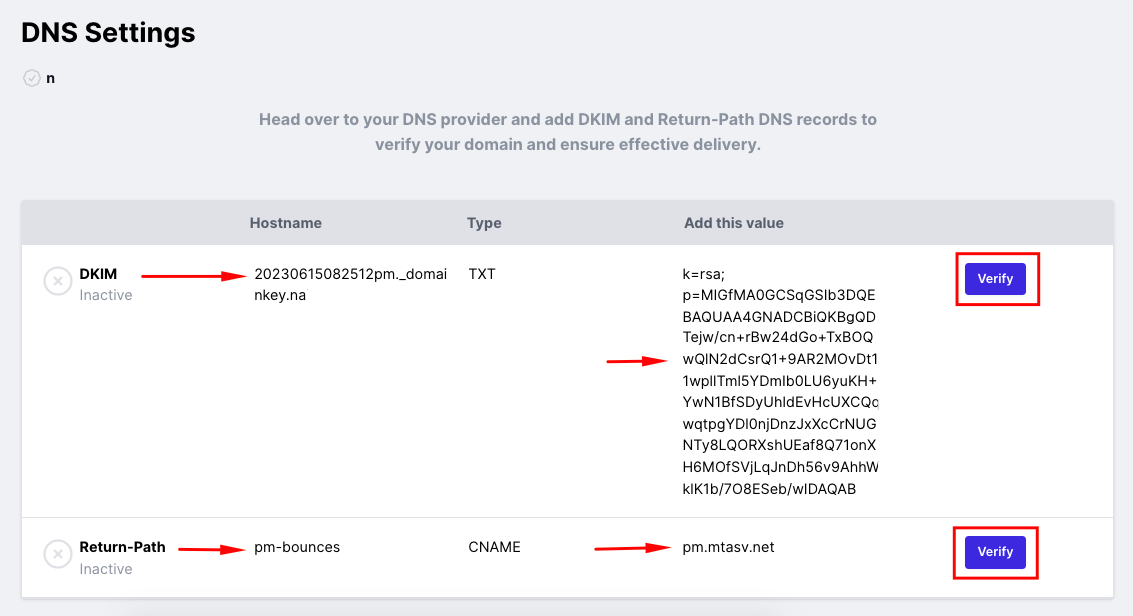
After you add your domain name, you need to verify it through the DNS. You’ll get some sort of code.
Go to your hosting provider’s account and add these DNS records to verify your domain.
DKIM:
Hostname: 20230615082512pm._domainkey.yourdomain.com
Type: TXT
Value: k=rsa; p=MIGfMA0GCSqGSIb3DQEBAQUAA4GNADCBiQKBgQDTejw/cn+rBw24dGo+TxBOQwQlN2dCsrQ1+9AR2MOvDt11wpllTml5YDmIb0LU6yuKH+YwN1BfSDyUhldEvHcUXCQqwqtpgYDl0njDnzJxXcCrNUGNTy8LQORXshUEaf8Q71onXH6MOfSVjLqJnDh56v9AhhWklK1b/7O8ESeb/wIDAQAB
Return-Path:
Hostname: pm-bounces
Value: https://pm.mtasv.net/
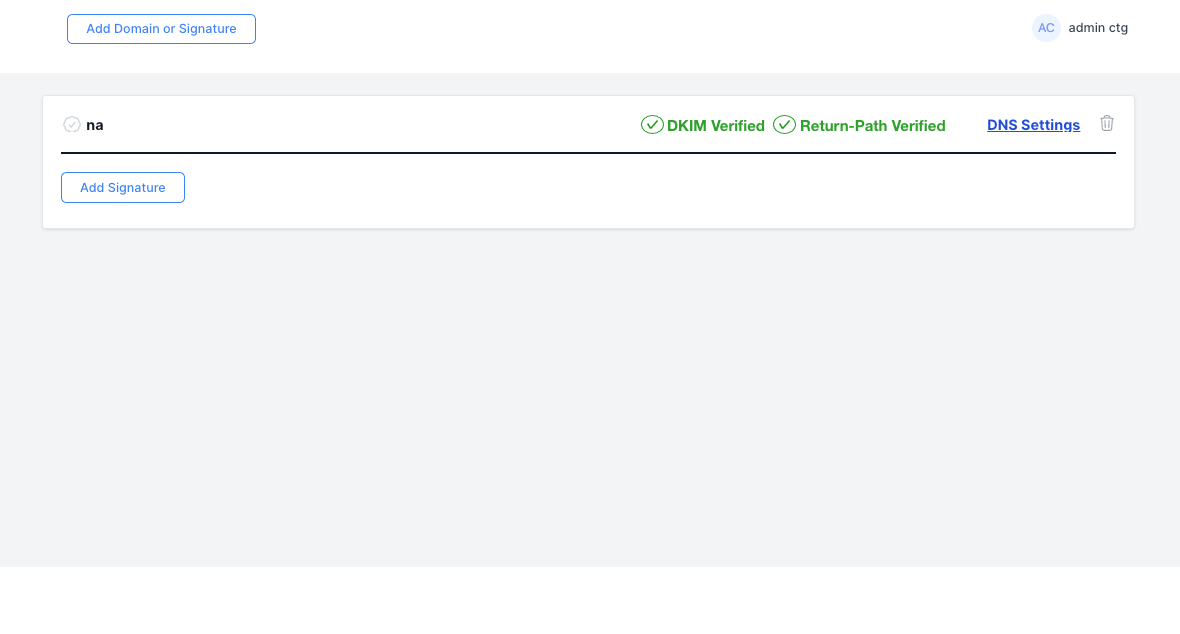
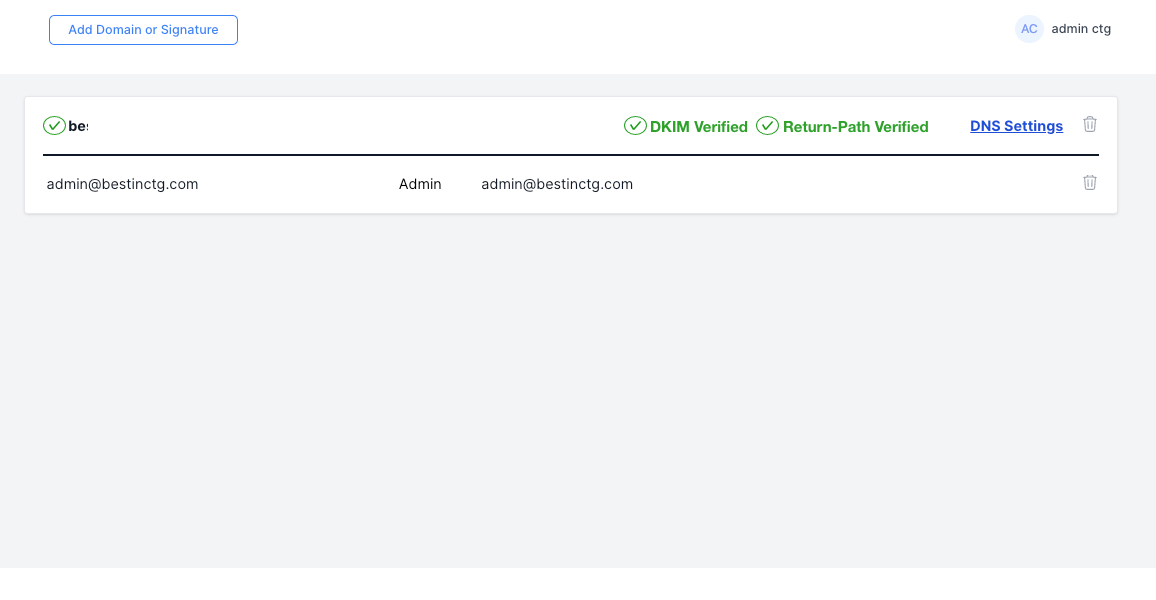
After you verify your domain, you’ll see the green signal and your domain information here. So now you can send as many emails as you want under this domain.
Add a signature for your WordPress transactional email
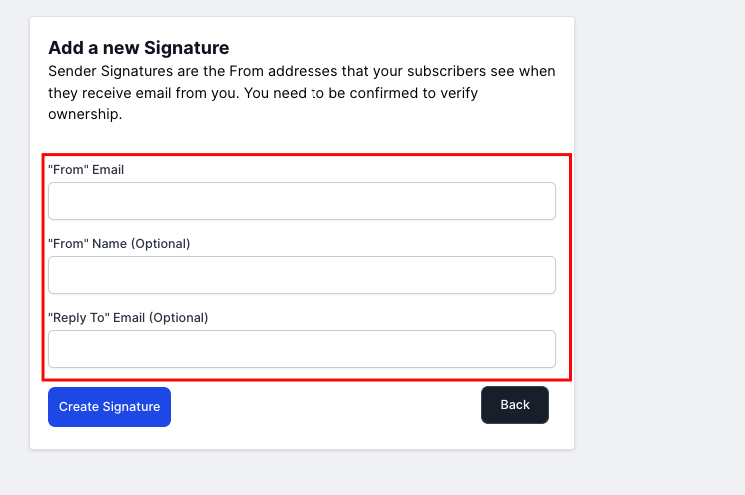
Now click on the “Add sender signature” button.
Here, provide your “From” email, “From” name, and “Reply To” email (optional).
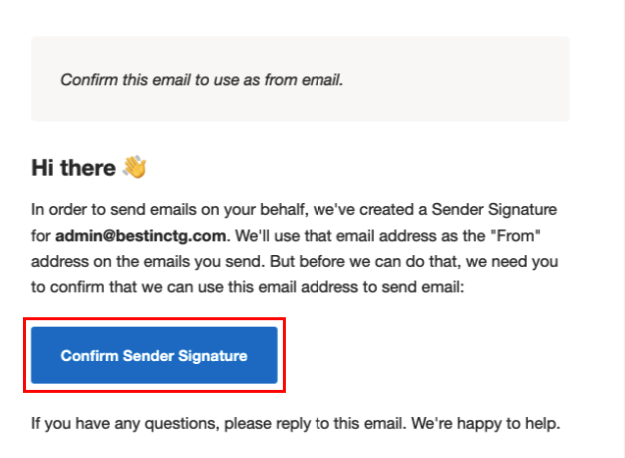
You’ll get a confirmation email after you give your “Sender Signature” email address here. Click on the confirmation button to confirm your sender’s signature.
Once you verify your email, you’ll see the email address appear on the list.
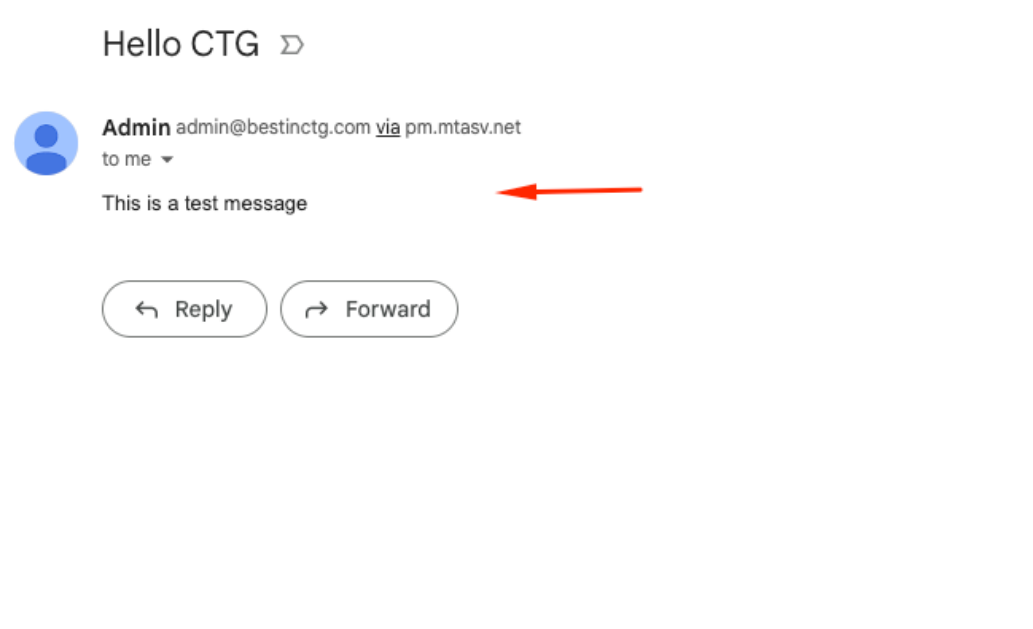
Now send a WordPress transactional email with InboxWP.
Here you go. You can see that the personalized or custom email signature appears here.
So this is how the “Sender Signature” feature works.
We hope this documentation helps you learn how to configure the “Sender Signature” feature of InboxWP. If you face any problems, feel free to share them with us through our support.